Build your own printer cable LCD Display
Connecting a LCD display to your personal computer is an easy job. Displaying data from your PC to a LCD can be proven very exiting, so give it a try and build your own today!
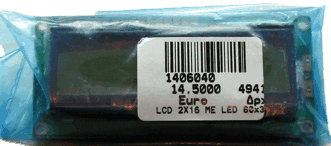
In this article we will use a 2 lines x 16 characters LCD display with Hitachi HD44780 onboard controller. You can use any size of LCD like 1x16, 2x40, 4x20 e.t.c but keep in mind that it must have HD44780 or or compatible controller which is the most popular at this kind of LCD displays.
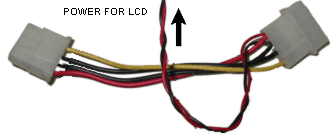
We will use a free printer port (LPT) for communication between LCD module and PC. For this interconnection we only need 10 wires between LCD and LPT and two additional wires for power.
To control the LCD there are some free programs that can do that job very well and providing many capabilities. We will discover them later.
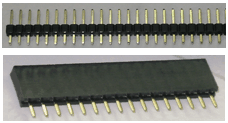
First of all let's see what parts you need:
 |
|
 |
|
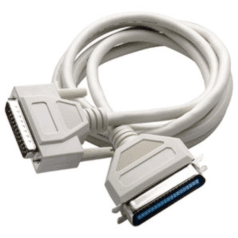 |
A printer cable. Can be found anywhere and it's cheap. |
 |
|
Also you need soldering tools and pence. Assuming you have already this kind of tools
Title: Build your own printer cable LCD Display
electronic circuit
Source: www.electronics-lab.com
Published on: 2005-02-03
Reads: 1511
Print version: ![]()
Other electronic circuits and schematics from PC related
-
7 segment rolling display using PC
-
Opto-Isolated Stepper Motor Controller
-
LCD2LPT with LIRC
-
A Laboratory Control System for Cold Atom Experiments
-
The Simplified I/O Interface
-
An Improved Infrared Receiver with Status LED
-
Monitor Your PC's CPU Core Temperature
-
Reading Data From The Parallel Port
-
RS-232 Laser Transceiver
-
4 - Channel Digital Logic Analyzer and 5 Channel Digital Oscilloscope by using PC Parallel Port